Sunday, January 10, 2016

Bob the Cardboard Robot

The Robot Project


Materials:

                  by sophia and Francesca
                                                         (Bob Bluey Blava)
         
Scissors,
duct tape, any type of plastic container with circular lid,2 boxes, 1 thin box as  big as you want, 1 wide box as big as you want, an empty roll of paper towels.


First, we had a different project in mind, but then we chose this project which is the robot
project. First, we got the wide cardboard box and the long cardboard. We put the wide box on top of the long box. Then, we hot glued the wide box on top of the long box.


After that, me and Francesca took the round plastic container and took the top off. Once we took the top off, we got a sharpie and drew a big dot right in the middle. Then we hot glued the top right in the middle of our robots head, for the eye. Then we got the paper towel roll  and cut it in half. That was for the arms.First we taped the  arms,  but that did not work because they were not stable enough. Then we hot glued the arms on and that did work. After that we made clothes for him with duct tape we made a tie for him by getting a strip of duct tape  and folding the ends of the strip  shaped like a triangle. our problem was when we tried to tape the head on. So we took the hot glue gun and glued it on instead.
This is our finished project. Bob.
What our goal for next time, is to build bob's house. I hope u will enjoy building your very own Bob. Make sure that you visit this blog daily, just in case we have the next step,
building Bob’s house!

Mini Cardboard House

How to Make a Mini Cardboard House  
                                     By Camille, Parker, and Bridget
                                                      4th Grade

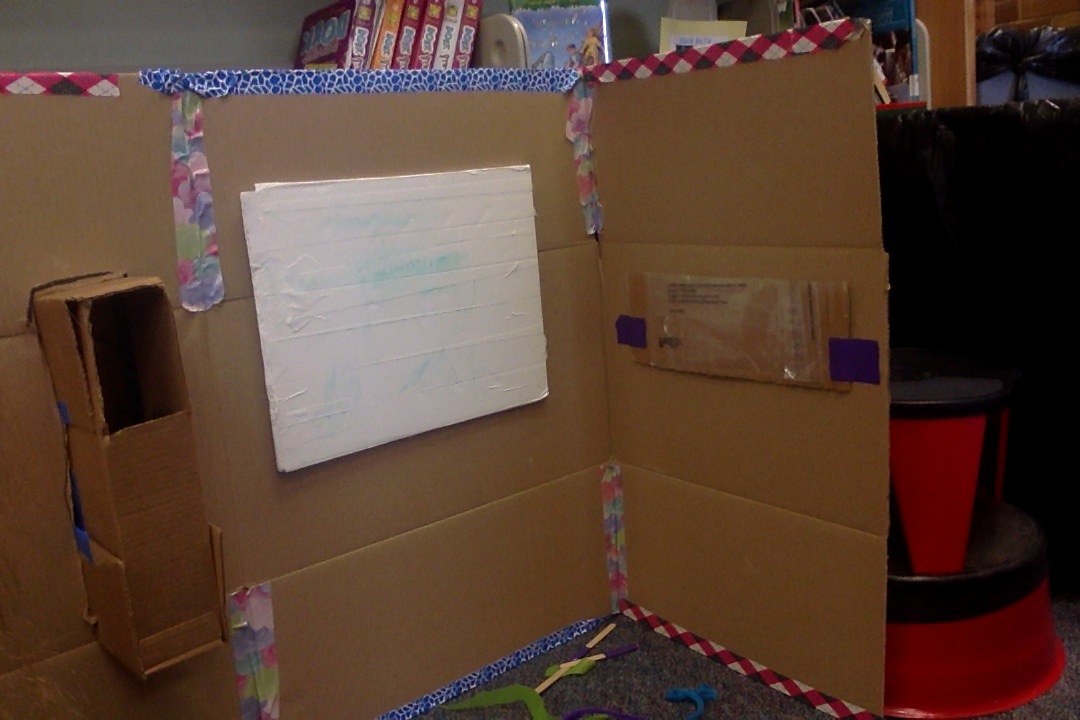
We built this project with a 30in by 80in cardboard box. Once you step into the house you don’t want to come out.


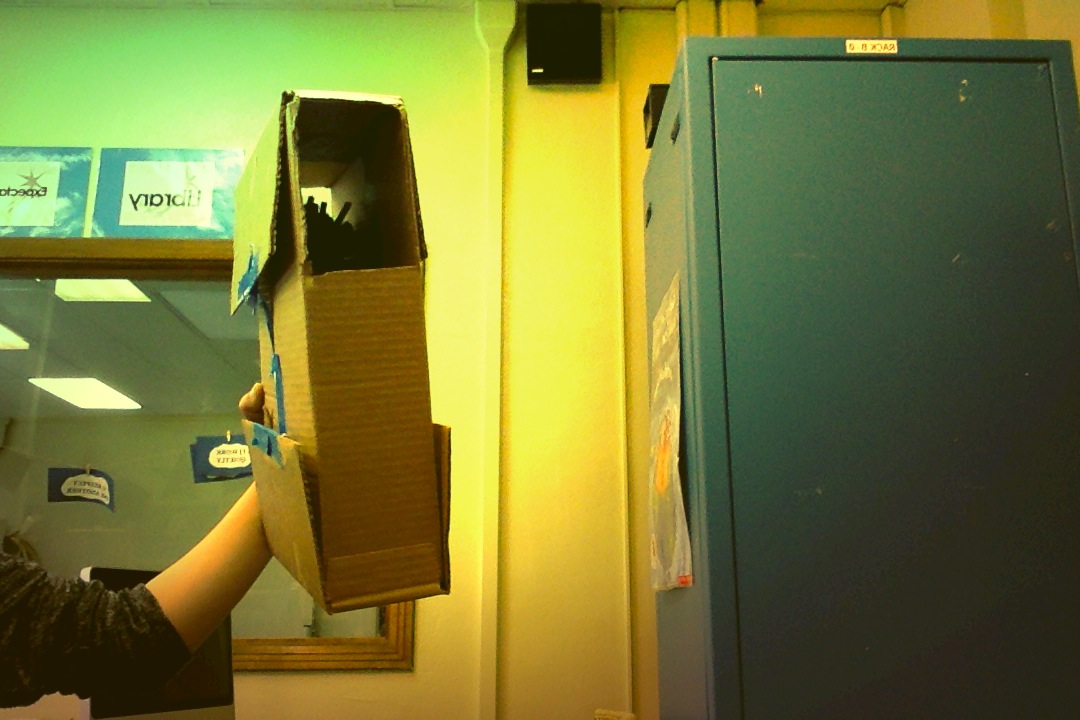
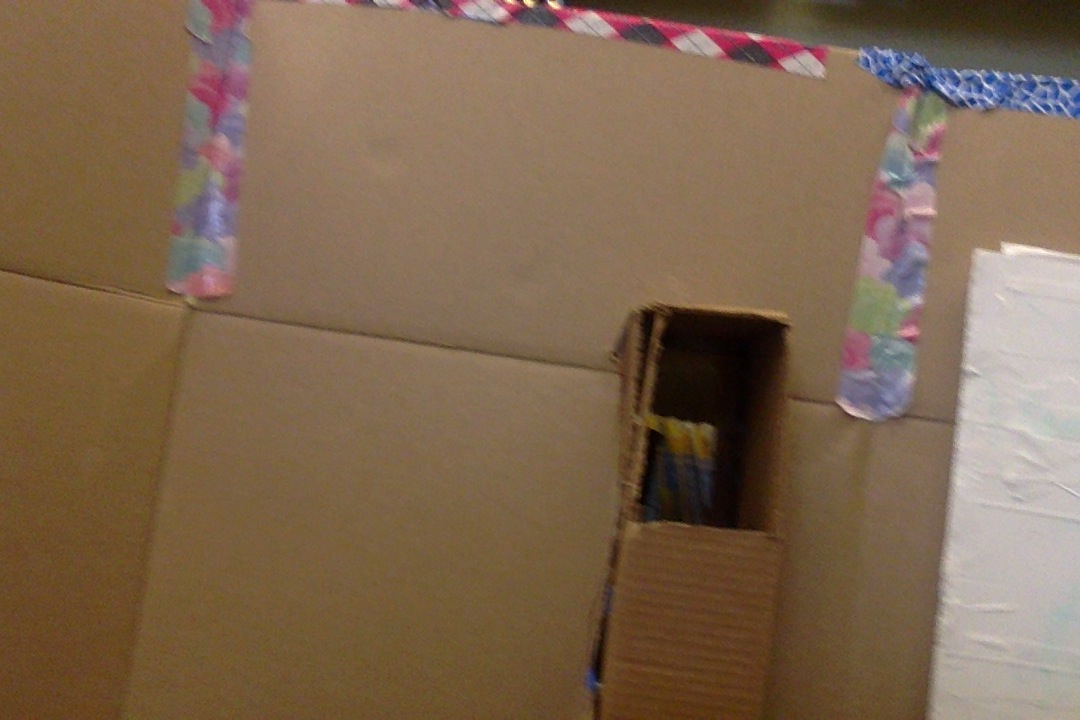
Step 1: Get a small cardboard box (to make the mailbox)then cut two holes on each side of it, big enough to fit your hand in.


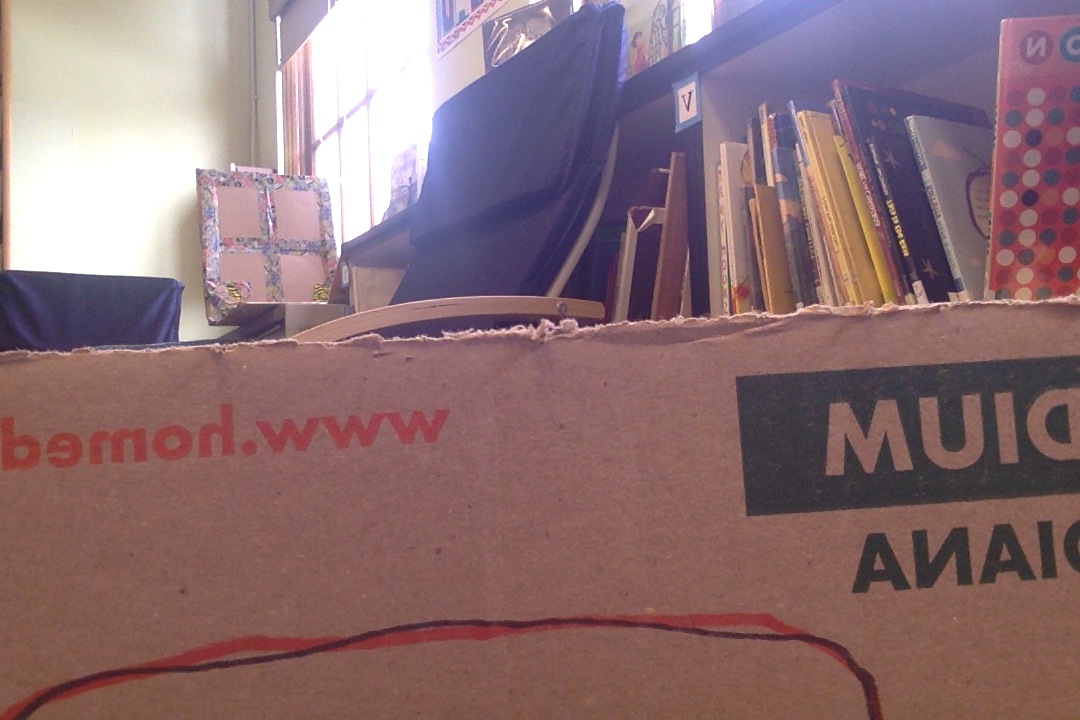
Step 2: Next is the roof, like the walls of the house you make (about 30in by 50in) cardboard roof. To make the roof stay you need lots and lots of tape.Like the picture below.


 hear is the roof when it’s done!


Step 3:Next, we made the walls like we said in the beginning it’s 30in by 80in. Also don’t shut it all the way closed (you need someway to get in!)

Step 4:Now you make a board that you and draw and erase on! What you do is get any color cardboard and you put white tape around it. Then use washable markers and start drawing.

Note: Step’s not in order you can do it anyway order you feel is most easy.

Thanks for reading, hope you enjoy the mini cardboard house!!!!!!!!

Laser Maze

Henry Seremet
Makerspaces project
December 18, 2015
Laser maze


First get a 16 square inch board, get 2 16x ¾ x 3 ½ and 2 16x ¾ x 3 ½ inch boards of wood, sharpie, black spray paint and a friend to build the laser.


  1. first get the screws and the 16 inch board and a drill and drill  the bottom to the rest of the other boards

  2. next grab the black spray paint and spray evenly on all sides until completely black

   3. then wait until the paint is dry and grab your sharpie

   4. get a ruler and sharpie ( that isn't black ) and draw a grid with 1 inch squares

   5. then grab Khet mirrors and then the rest is up to you!

this is what the finished project should look like this  

How to Build a Laser

How to Build a LASER

Materials: LASER from an old computer, 2 AA batteries, AA battery holder, wires, a solder gun, and an Altoids box

Step one: solder the black and red wires to the metal parts by the spring on the battery holder.
Dec 18, 2015 9:52:34 AM.jpg  
Step 2: solder the end of the red wire from the LASER to the end of the other red wire you just soldered to the battery holder.
Jan 8, 2016 9:40:08 AM.jpgJan 8, 2016 12:15:26 PM.jpg

step 3: cut a hole in the corner of the “lid,” then glue a switch in it.
Jan 8, 2016 9:46:59 AM.jpg
Step 4: solder the black wire connected to the spring to the “stick” on the right of the switchJan 8, 2016 9:51:27 AM.jpg
Step 5: solder the blue wire coming from the LASER to the middle stick on the switch
Jan 8, 2016 9:55:53 AM.jpg

Step 6: tape or glue the battery holder to the bottomJan 8, 2016 10:05:04 AM.jpg

Thursday, January 7, 2016

Cardboard Vending Machine

Vending Machine
By Laila and Allie

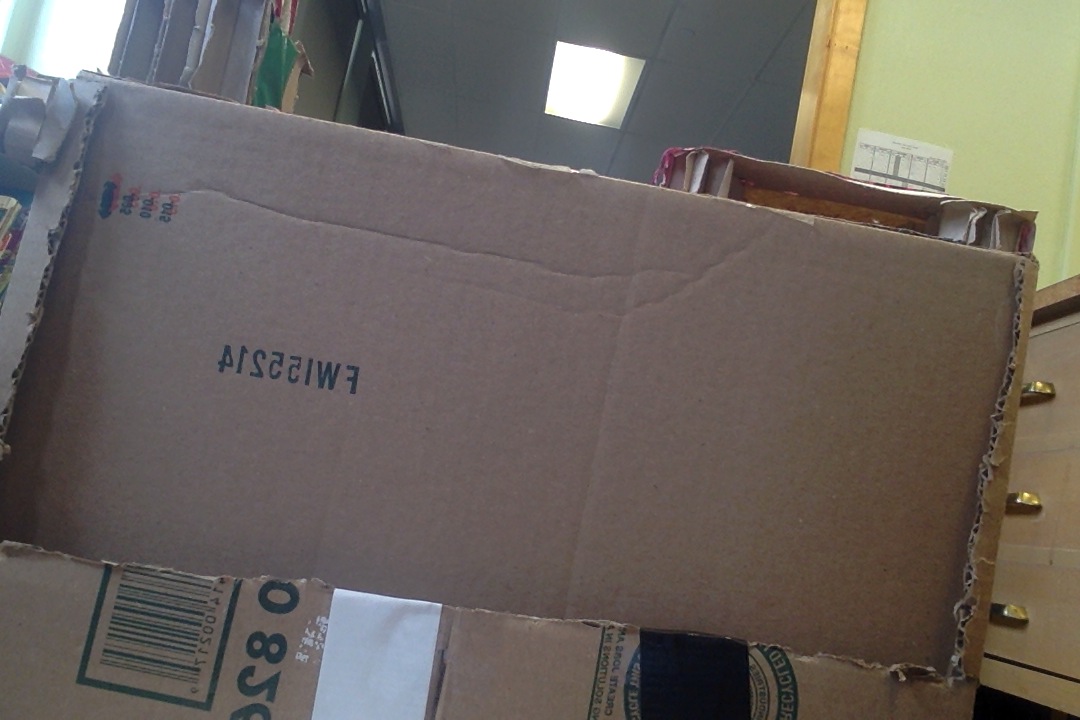
Our Problem: I had a bunch of boxes from moving and my parents wanted to get rid of them. Could I make something out of one?

Our Project: Is a medium box from home depot with attachments that hold our supplies. It even has its own logo!

Plan

  1. Cut off the flaps from the top of the box. ( do not throw them away)
  2. Cut out a rectangle from the vertical flaps from the bottom. **make sure not to cut the horizontal one**


3. Grab your thick piece of cardboard and cut the thick part out. Leave about an inch from the side and tape it to the side on the top when the cut out side is facing towards you. This is the money slot.


4. Use one of the flaps you cut off and fold it into three sections. Take the thinner piece of thick cardboard and tape it to one of the sections.


5. Securely tape the flap onto the side with the cut out rectangle that becomes the holder for your products.


6. Create a name for your company. ** we made ours by allie made an L on accident with black duct tape and I wrote vending sideways to make L vending**


7. Be creative as you find cool things to sell. You also can take a black marker and on the side write what you are selling.

Friday, December 18, 2015

Night Game- cardboard creation

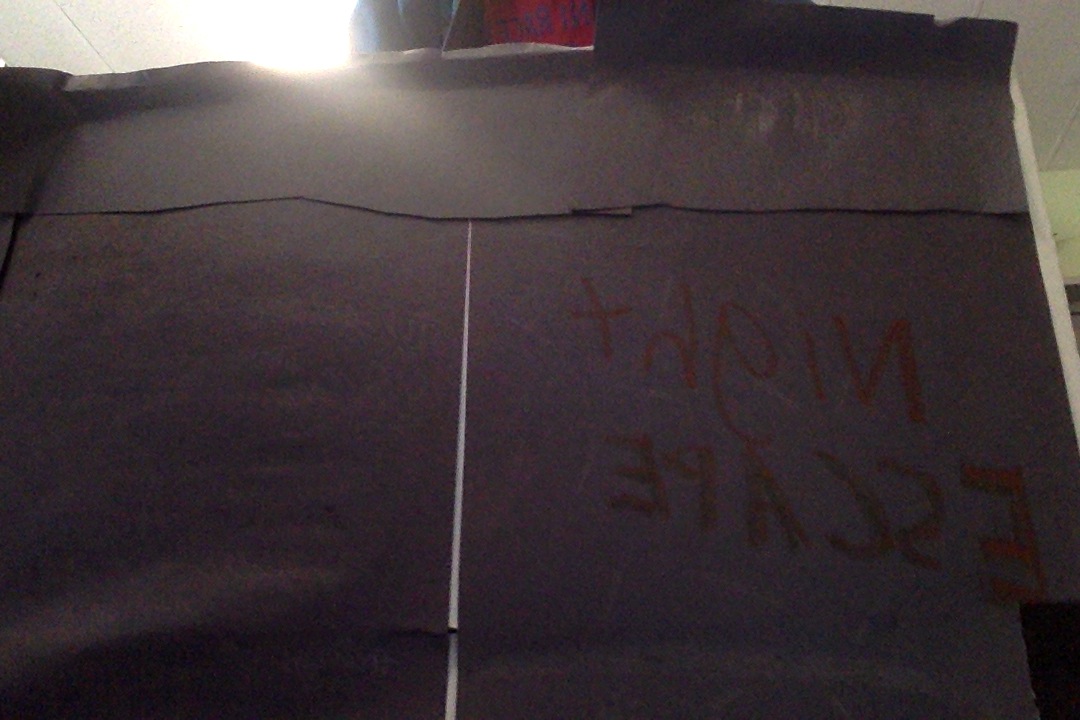
NIGHT ESCAPE -- cardboard game

Problem-I was assigned a report to post a blog about a cardboard creation, and I created along with  a partner so awesome named Chase. We created NIGHT ESCAPE.


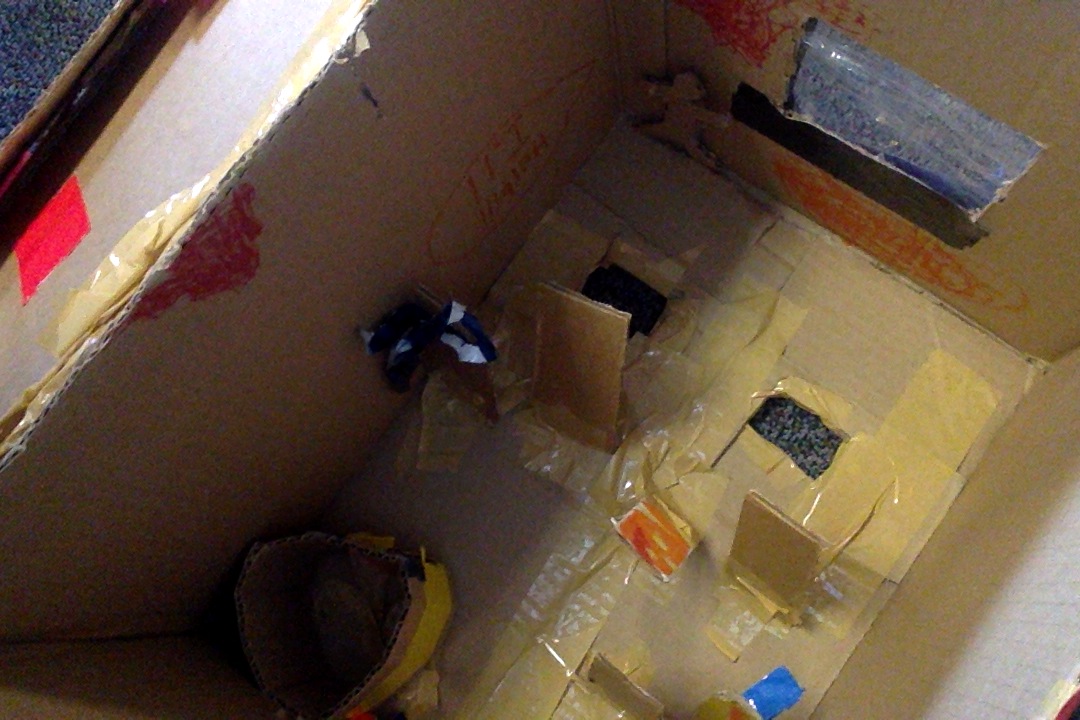
Step 1: find an box and then cut the entire top off ( but save it)

Step 2: decorate the top but keep so it can fit on the top of the box for an lid
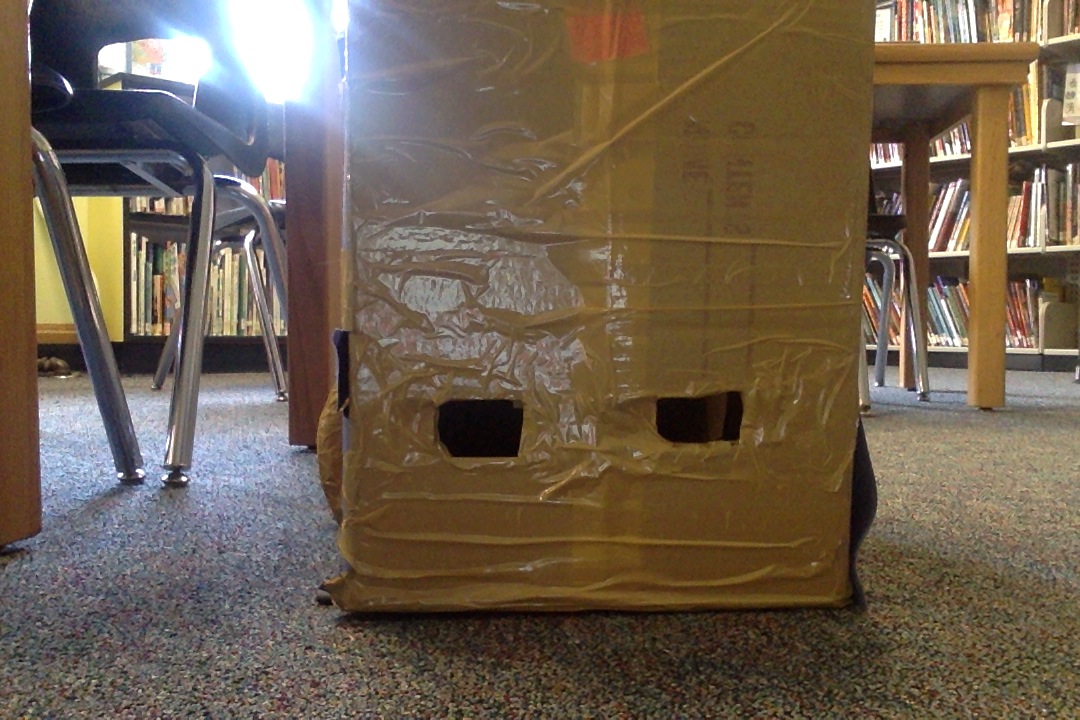
Step 3:  cut an 3 by 3 inch hole on one side of the box (about in the middle)

Step 4: cover the hole with clear tape.

Step 5: tape only one side of the lid to the box so it still opens
Step 6: cut 2  2 by 2 inch holes o(Step 6 figure)
Step 7: create obstacles for the mable to dodge

Step 8: tape the obstacles to the floor of the box

Step 9: get a marble and  dodge all your obstacles with your created game!!

Cardboard Speakers

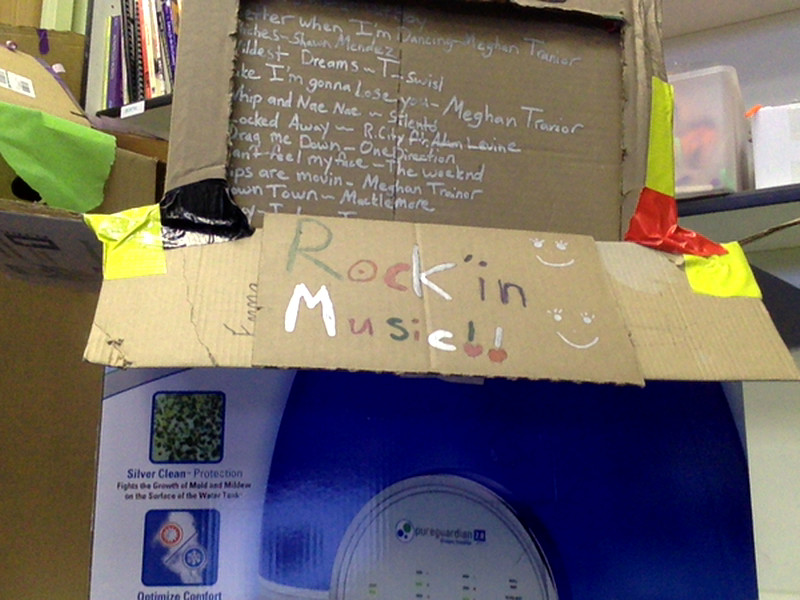
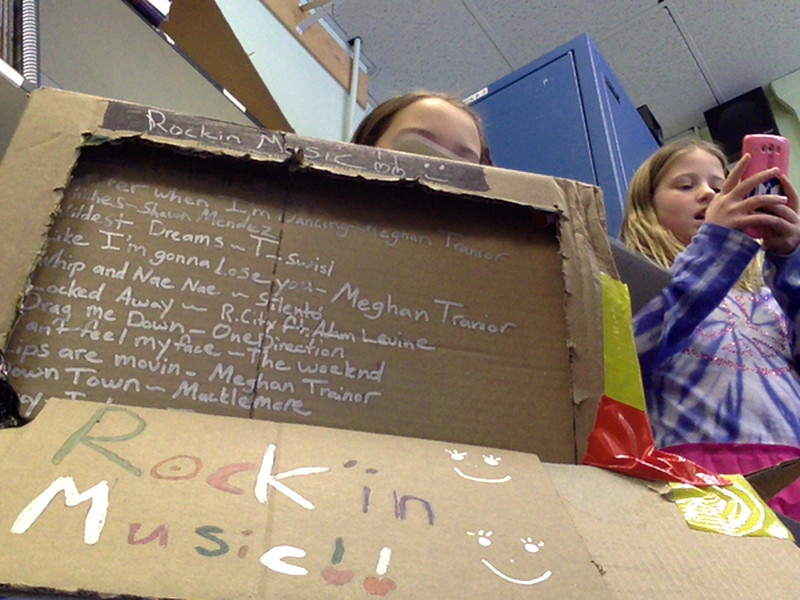
Make Your Own Rock’in Box
Dec 17, 2015 9:30:57 AM.jpg(Sorta like a homemade speaker)
Problem: We needed a loud speaker, but didn’t have one.

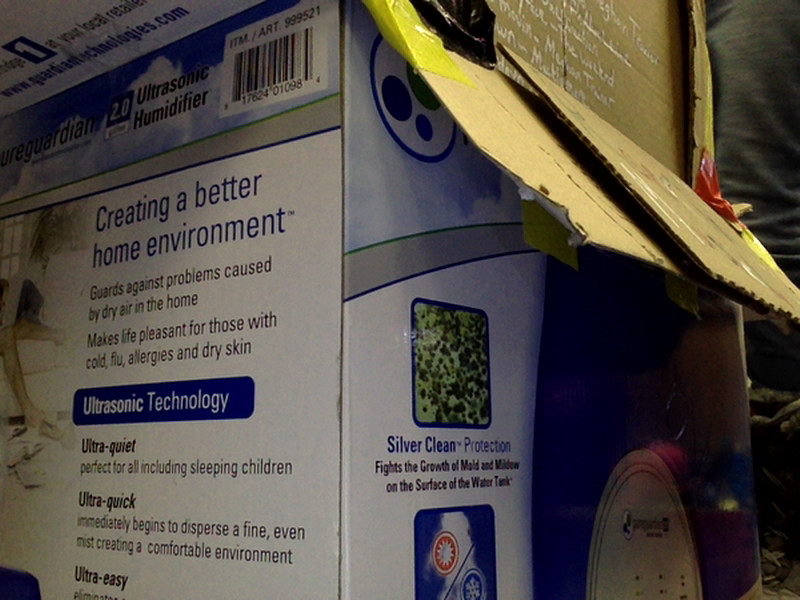
Step 1: Find two simular sized boxes, one maybe smaller than another.
Dec 17, 2015 9:41:53 AM.jpgOne smaller top boxDec 17, 2015 9:43:40 AM.jpgBigger bottom box

Step 2: Connect the boxes with duct tape and cut out the bottom of the bottom bigger box. The bottom box is the stand for your speaker.

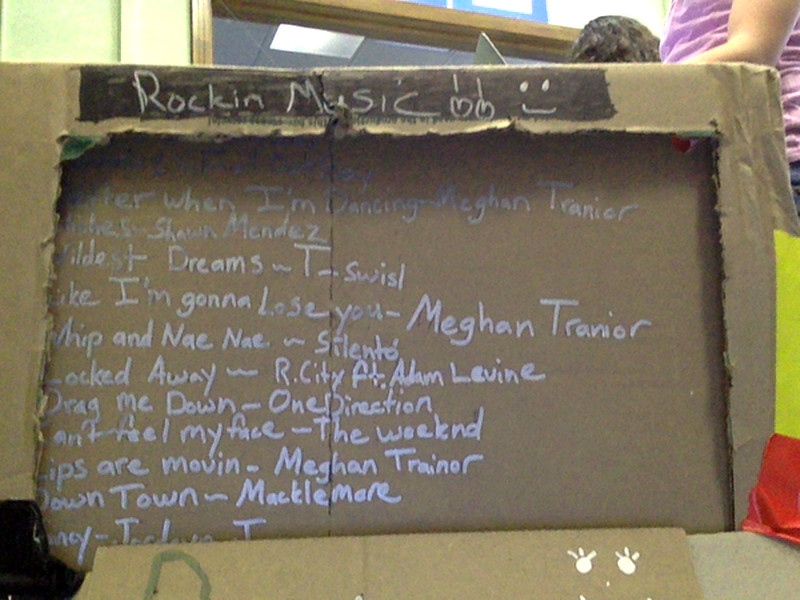
Step 3: Cut out a square hole in your top speaker box. This is where you will write the names of your songs and have a little bit more room for the music to leak out louder.
Dec 17, 2015 9:51:07 AM.jpgThat is where the name of the songs will go.

Step 4: Cut a slip of cardboard as big as the hole in the top box and list all the songs you are offering. Tape it to the inside of the box.

Step 5: Cut a slip in the back of the combined boxes. This is where you will keep your music player and where you will collect money.
Dec 17, 2015 10:02:57 AM.jpg

Step 6: Take an electronic, put it in there and play some music!