Showing posts with label cardboard. Show all posts

Monday, January 11, 2016

Cardboard Foosball Table

MAKING A CARDBOARD FOOSBALL TABLE
by Mirabel Levin, Kate Vezzani, and  Ashely  Wood

We decided to make a cardboard foosball table ‘because we love soccer, here is how to make it.

Some changes we needed to make were to make our fabric taped on better so it won’t fall off. Also, we could have made cardboard people, not just faces.


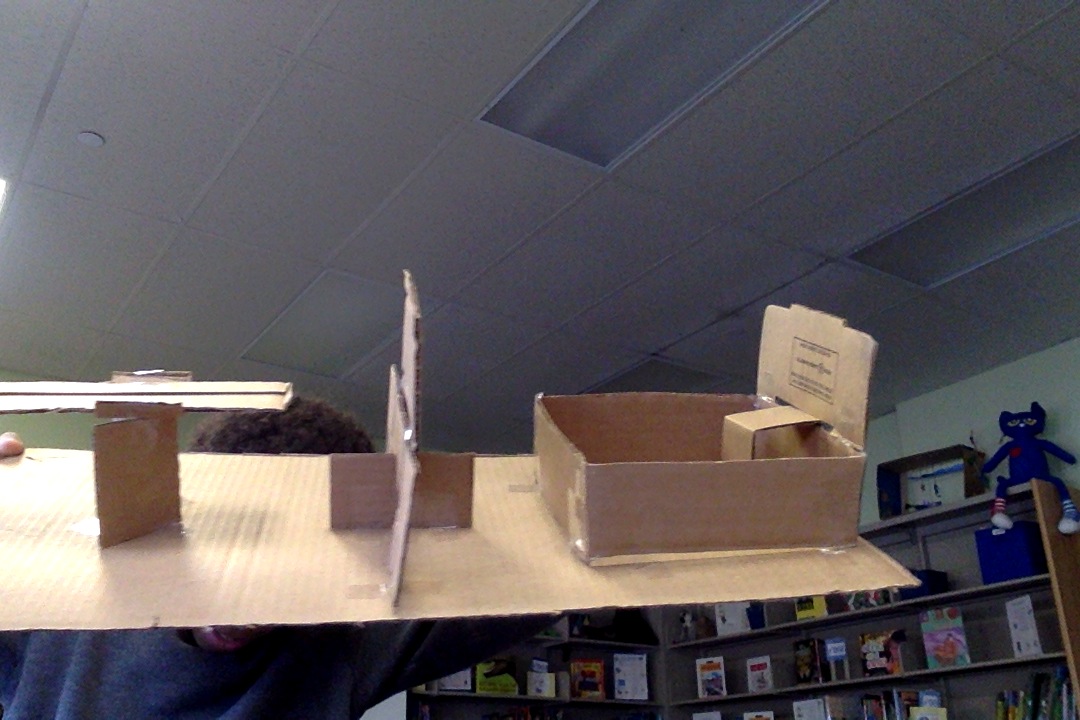
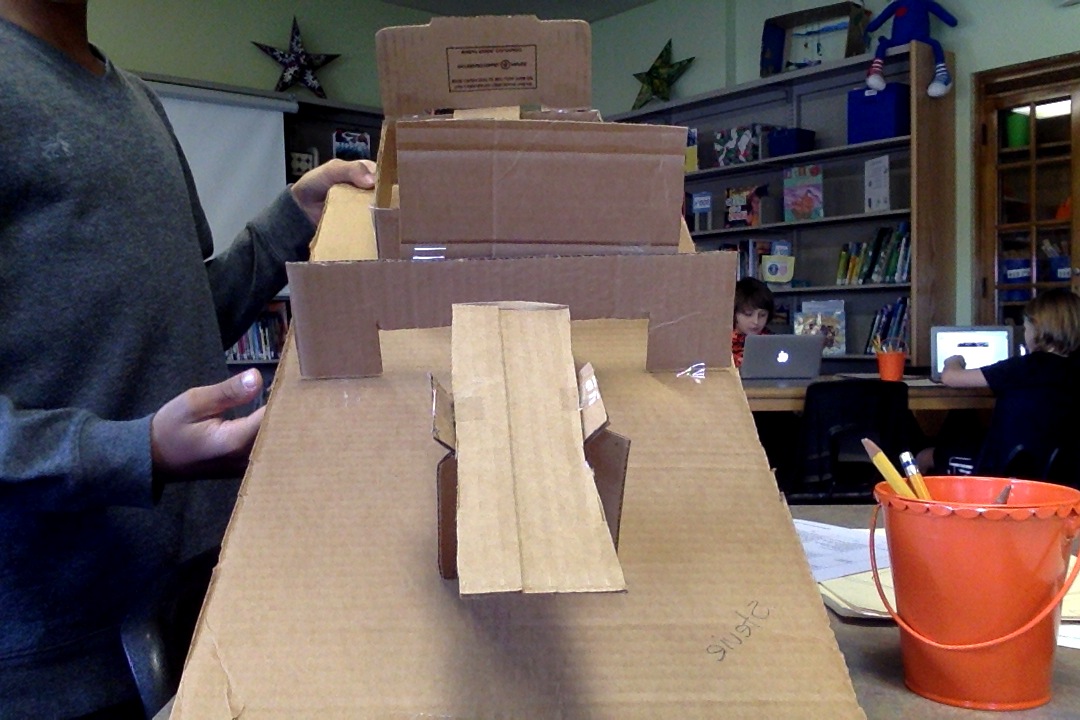
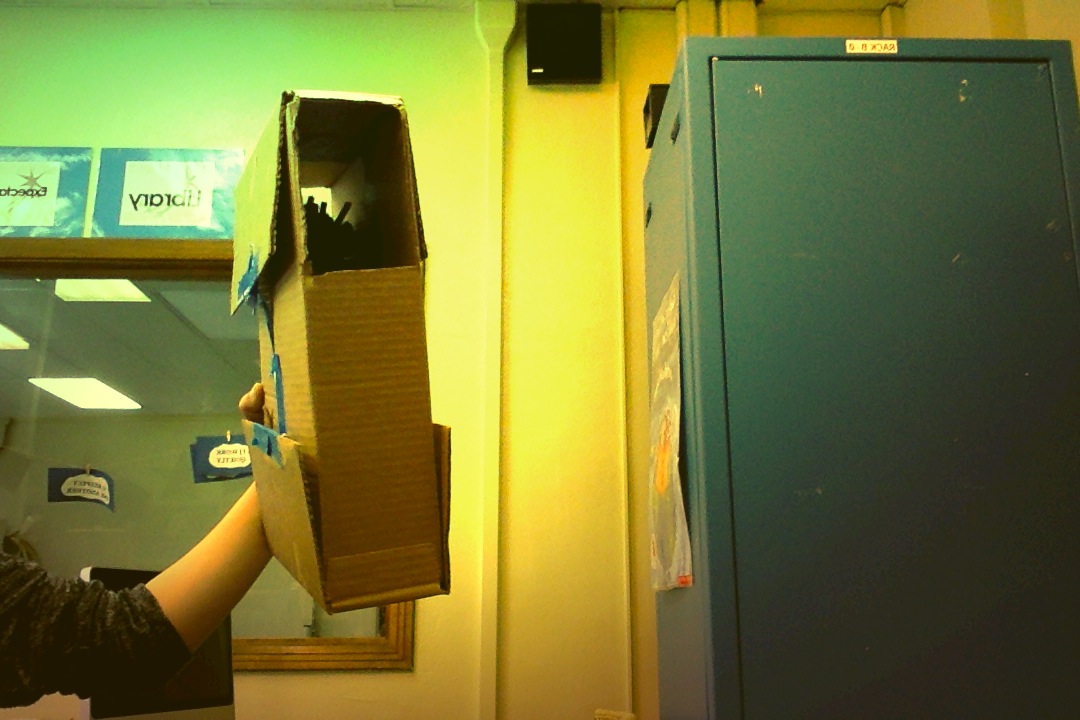
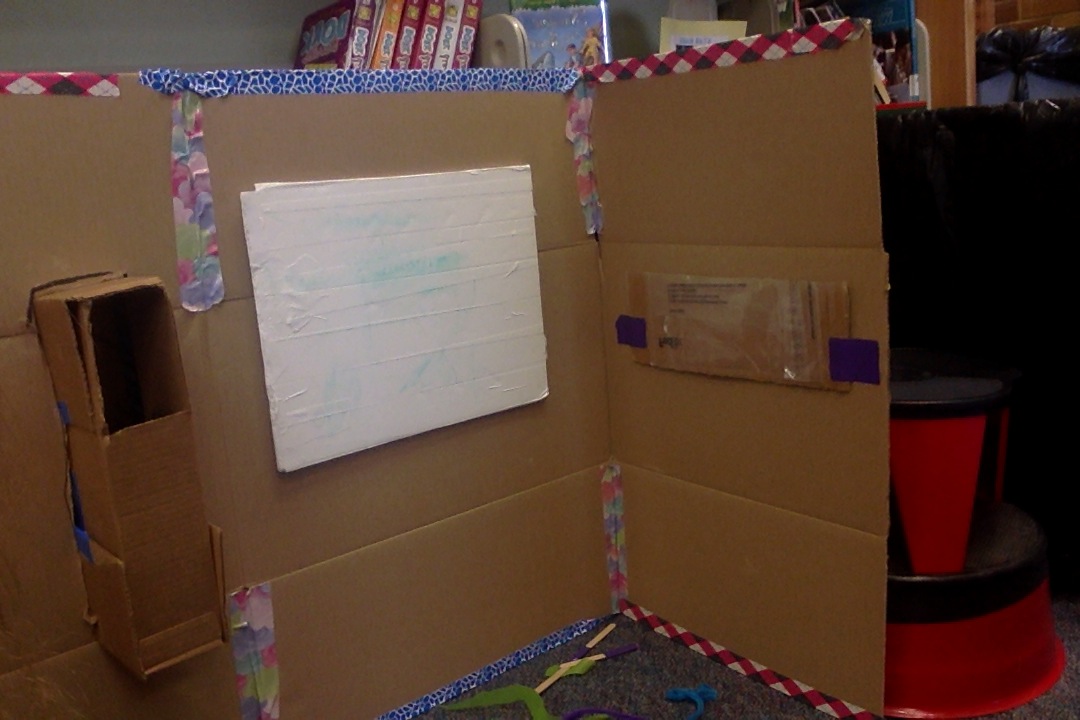
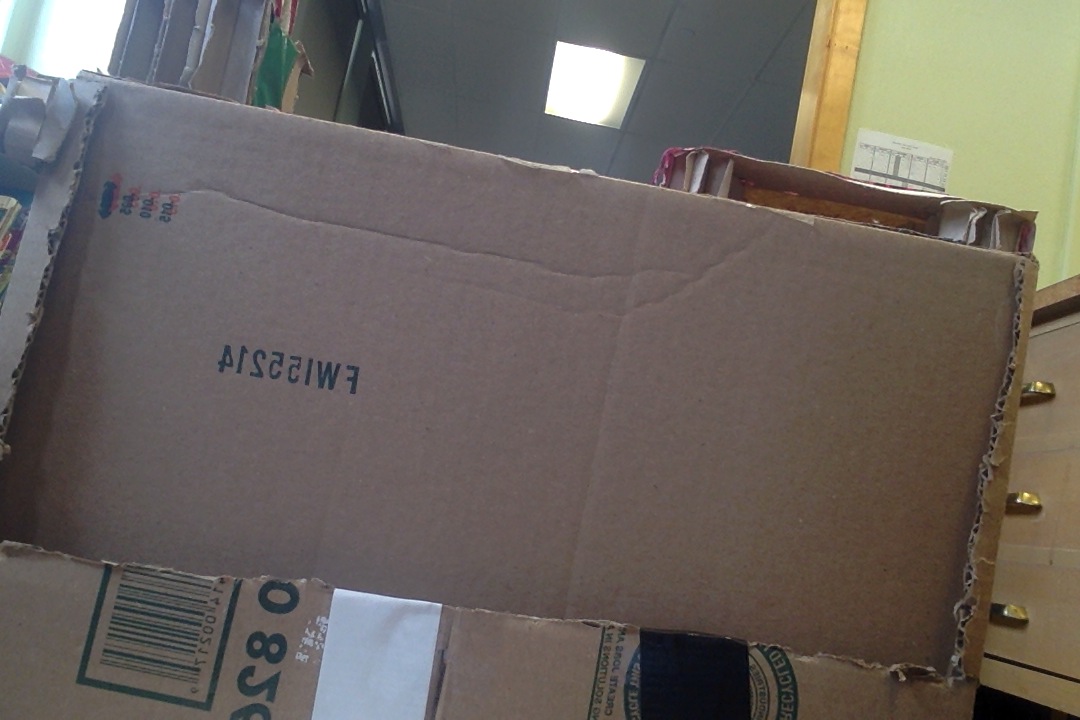
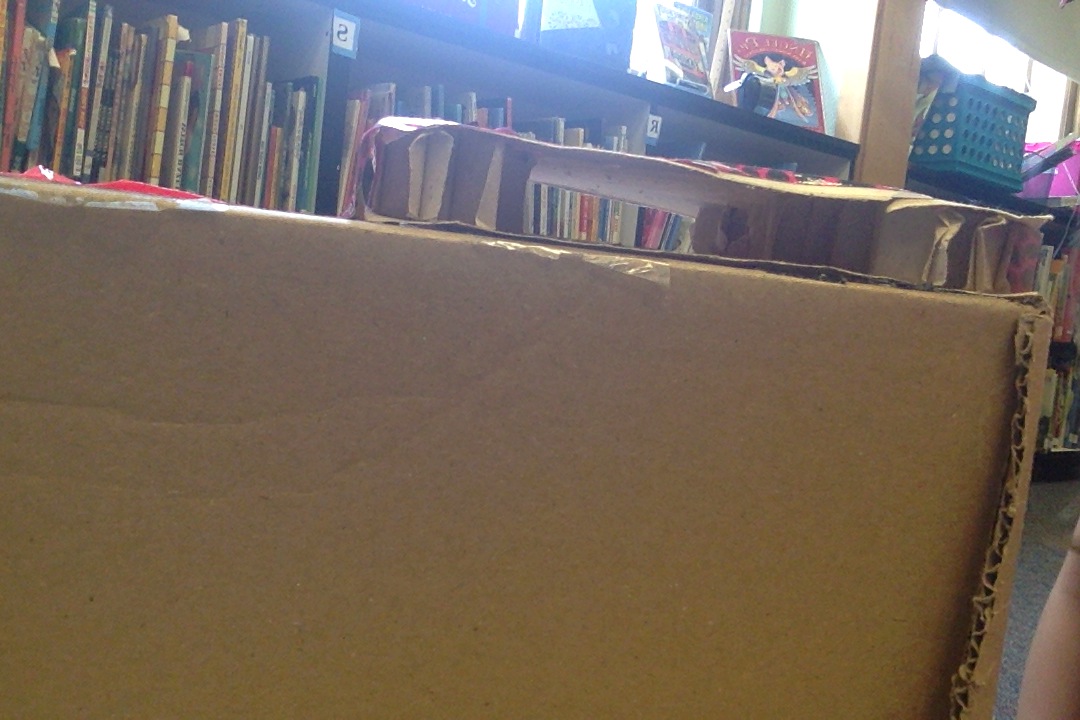
STEP 1):  Rip two boxes of cardboard so they are unattached. Tape two sides of cardboard together to make a soccer stadium.
STEP 2 ):  Cut circles of cardboard and put faces on the circles. Cut a strip of cardboard about a foot and an inch wide. Tape a circle of cardboard on the end of a strip of cardboard until you don’t have any strips or circles left.

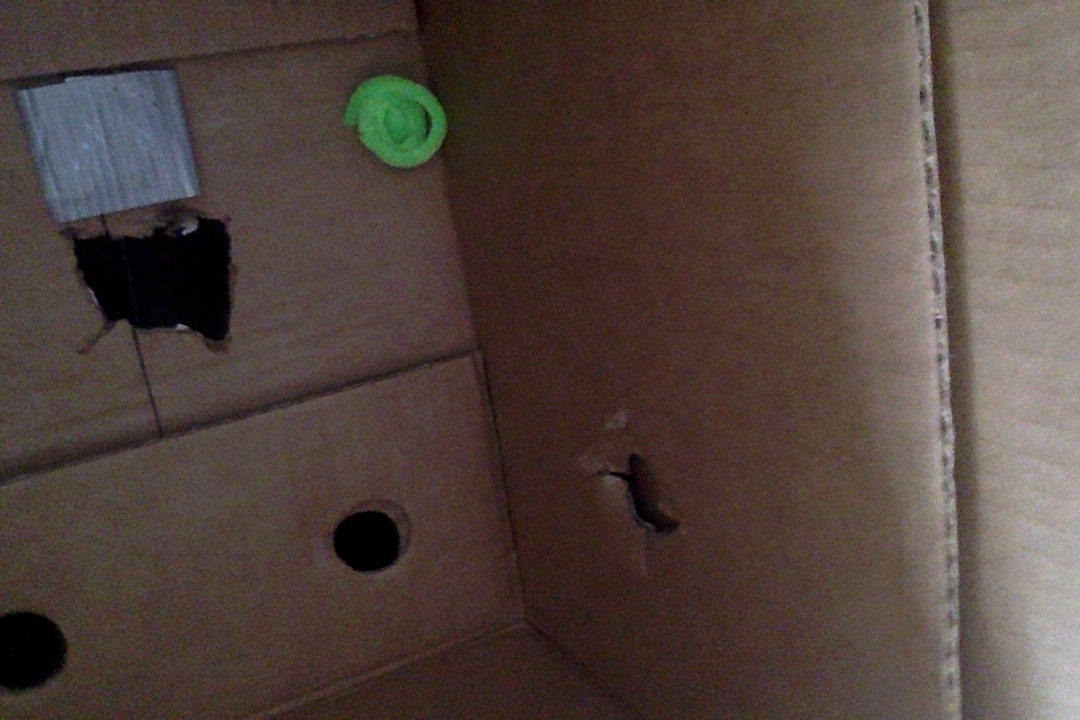
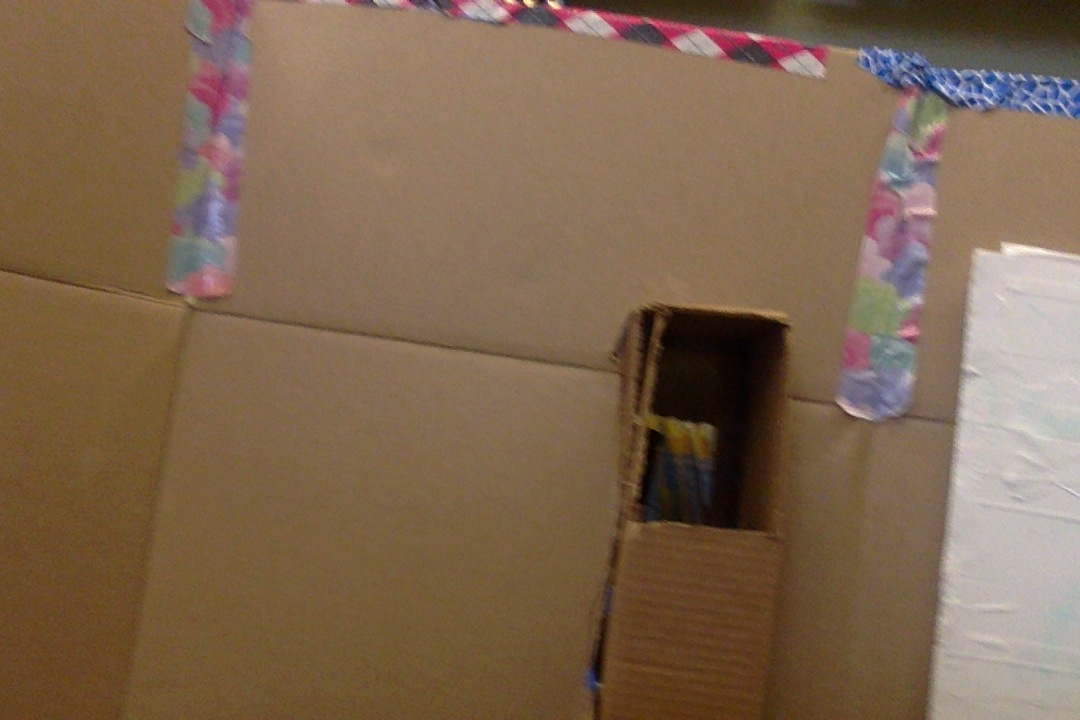
STEP 3):  Poke holes in the middle of the cardboard stadium.           ( poke as many holes as you made for the strips with faces.) Place strips with faces in the holes you poked. Leave the goalies you made and poke one hole on each end side for goalies.
STEP 4):   Make goals for the goalies. Color or duct tape  your stadium, your people with strips, and your goals and add green fabric for grass.
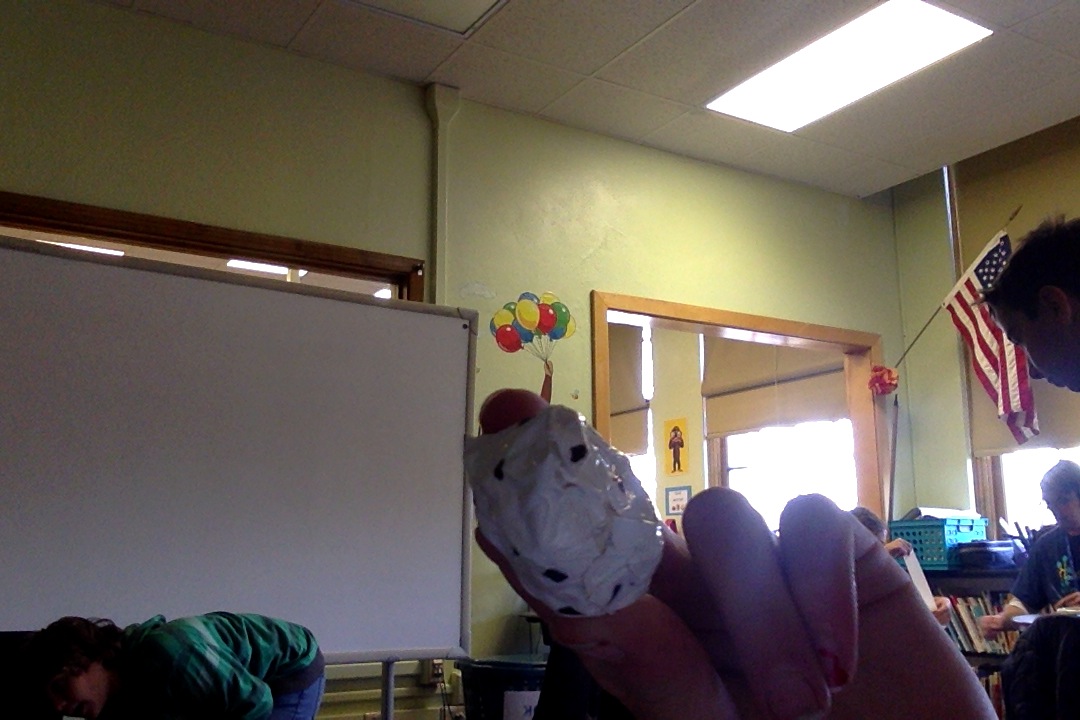
STEP 5 ):   Crumble up white duct tape to make a soccer ball.
STEP 6):    Have fun  with the cardboard foosball table. Now that you know how to make a cardboard foosball table, you can make them whenever, wherever you want.

Foosball Table

How To Build A Foosball Table

Our problem is that we had a lot of cardboard and we didn’t know what to do with it until we look for images of things built out of cardboard and we found a image of a cardboard foosball table and it gave us an idea and we made a cardboard foosball table.

First step: Find a cardboard box with the width of 3 feet and a length of 5  3               and 6 inches.Original (2896 × 1944)

second step:: Draw what you feel like you put in the center.
                                                           6 ft
third step: get legs for the table

Step four : glue it with a hot glue gun

Step five:make the goals with ten rings

Step six:make a border line on the side of the box

Step seven: poke holes so you can stick the wooden stick in so you can make the players for the game

Step eight: put the players on.
Step nine: make handles

And then you will have an awesome foosball table!!!!!!!!!

Basketball Toss

Noaea Bunch

Problem: My house doesn’t have many games. Can I make a game?
Brainstorm: I started watching videos on the internet to find inspiration.So why not make a basketball game.

Need: lots of cardboard
         2 rolls of duct tape
         2 pipe cleaner
         scissors
         puff balls
         gumballs
         tissue ( a plate will also work.)

Rules: If you make 10 or more points on the first ramp, your bonus round is knocking the gumball of its spot. The gumball must fall down the ramp, onto the plate for someone to have it.

Step 1: tape the bottom of a big box together. That way the box isn’t wobbly.

Step 2: Open the other end and tape the corner of each side together except 1 of them.

Step 3: Cut a 6x6 inch square in the front.( the side with the one flap down is the front)

Step 4: Tape the flap that is down to the other 2 flaps that way it stays in place.

Step 5: Put  2 foot long and 6 inches wide piece of cardboard through the square at a slanted angle.( slanted as in going upward the box.) Of course then tape the top part to the back flap.
The ramp should look like this:

Step 6: Grab 2 pipe cleaners and make a hoop out of them. tape that above the ramp( as close as you can toward the ramp.)

Step 7: On the left side of the box( any side actually works.) cut another 6x6 square.REPEAT STEP 5.

Step 8: Make a tunnel around the middle of the top ramp ( the second ramp you made should be up higher than the first ramp.) IT SHOULD LOOK LIKE THIS:


Step 9: At the top part of the top ramp, bend the top part that way it has a flat surface for the gumball to sit on. You might have to redo the taping at the top of the top ramp.

Step 10: At the floor level of the top ramp, grab tissue to make a plate like platform for the gumball to land on.( A regular plate will work to.)

Step 11: Grab two 10x4 inch cardboard pieces to put on the inside ( next to lower ramp and under higher ramp) to block puff ball from falling into the box.

Step 12: On the front of the box, cut a vertical ½ inch long line through the box for the quarter slot.

Step 13: Under the quarter slot, cut a horizontal 3 inch wide line through the box for the dollar slot.( You don’t have to do steps 12-13 if you don’t want to. Your choice.)

Final Step: Enjoy!!!!!!!!!!

Sunday, January 10, 2016

Mouse House

MOUSE HOUSE


Problem: I saw that my mouse was getting a little bored with what was in his cage, so I decided to build her a mouse house!


Materials:

2 shoeboxes, tape, balsa wood, paper towel roll, a tasty mouse treat, and of course a mouse!

1.Take 2 shoebox bottoms.

Dec 18, 2015 9:30:38 AM.jpg

2.Place one shoebox ontop of the other and slightly push it inside of the other leaving a space inbeetween them.

Dec 18, 2015 9:31:47 AM.jpg

3.Tape up all of the creases so that the mouse can’t escape.

Dec 18, 2015 9:32:48 AM.jpg

4.Cut an itty bitty hole so that the mouse can have a back escape.

Dec 18, 2015 9:33:44 AM.jpg

5.Insert the paper towel roll into the front door that was cut.

Dec 18, 2015 9:34:27 AM.jpg

6.After cutting a hole from the top compartment to the bottom compartment, put a single piece of balsa wood through the hole to the bottom compartment.The mouse tries to climb up the ramp.

Dec 18, 2015 9:34:51 AM.jpg

7.The mouse retreats and goes back to the bottom.

Dec 18, 2015 9:36:53 AM.jpg

8.You add another single piece of balsa wood and put a treat at the top of both of them.

Dec 18, 2015 9:38:11 AM.jpg

9.The mouse starts to climb up the new ramp.

Dec 18, 2015 9:39:07 AM.jpg

10.The mouse is on the ramp and climbing it.

Dec 18, 2015 9:40:00 AM.jpgDec 18, 2015 9:40:31 AM.jpg

11.The mouse is on top of the second floor after climbing the ramp.

Dec 18, 2015 9:43:31 AM.jpg

12.The mouse thinks about going down the ramp

Dec 18, 2015 9:51:33 AM.jpg.

13.The mouse goes down the ramp.

Dec 18, 2015 9:52:09 AM.jpg

14.The mouse exits the house and runs through the tube.

Cardboard Launchpad

 CARDBOARD LAUNCH PAD

STEP 1:
CUT OUT A LONG RECTANGULAR SHAPE OUT OF THE CARDBOARD BOX.
STEP 2:
GET A SMALL CARDBOARD BOX THEN CUT OFF THE TOP TO MAKE THE BALL POCKET.
STEP 3:CUT OUT A SMALL RECTANGLE TO MAKE THE FIRST PART OF THE LAUNCH PAD.
STEP 4:CUT OUT A SQUARE THEN FOLD IT IN HALF AND GLUE IT TO THE PLATFORM BOTTOM TO TOP.
STEP 5:TO MAKE THE WALL CUT OUT A BIG SQUARE AND GLUE TO THE
PLATFORM.
AND THAT IS HOW YOU MAKE A CARDBOARD LAUNCH PAD.

Cardboard Game

How To Make: A Cardboard Game

 PROBLEM: I wanted something to entertain my brother and I.

BRAINSTORM: I knew I had some unused cardboard, so I decided to make a cardboard arcade-like game so me and my brother could have more fun.

MATERIALS: Two cardboard boxes with volumes of one and two cubic feet, scissors, paper (optional) and glue or tape (tape recommended and used).

    STEP 1): I used some cardboard to make the the top.  
Height: One foot
Length: One foot
Width: One foot
Volume: One cubic foot

    STEP 2): I used another cardboard box to make the sides and bottom.
Height: Two feet
Length: One foot
Width: One foot
Volume: Two cubic feet
    STEP 3): I put the first cardboard box (for the top) and cut a hole in the top. The hole was at the bottom of the box. The hole is a circle and is about two inches by one inch. I put duck tape two centimeters away from the hole.
    STEP 4):
You cut a hole in the side of the smaller original box. You don’t move to the box mentioned in step two. Then, you put the smaller box into the large box(mentioned in step two).

    STEP 5): You have to make your “person” whom you drop into the hole.


STEP 6):I put my name on my construction.  Then, I cut a 3 inch by 4 inch hole in the side of the larger cardboard box.  I cut the hole right under the smaller cardboard box that is placed inside it.  Finally, I wrote the name of the game on
the side of the box, “Escape… From Prison!”

    STEP 7): I put the second obstacle on the game.  First, I placed some duck tape inside the box(right next to where the figure lands).

    Changes: Next time, I will try to do this project with wood and nails instead of cardboard and duct tape

Bob the Cardboard Robot

The Robot Project


Materials:

                  by sophia and Francesca
                                                         (Bob Bluey Blava)
         
Scissors,
duct tape, any type of plastic container with circular lid,2 boxes, 1 thin box as  big as you want, 1 wide box as big as you want, an empty roll of paper towels.


First, we had a different project in mind, but then we chose this project which is the robot
project. First, we got the wide cardboard box and the long cardboard. We put the wide box on top of the long box. Then, we hot glued the wide box on top of the long box.


After that, me and Francesca took the round plastic container and took the top off. Once we took the top off, we got a sharpie and drew a big dot right in the middle. Then we hot glued the top right in the middle of our robots head, for the eye. Then we got the paper towel roll  and cut it in half. That was for the arms.First we taped the  arms,  but that did not work because they were not stable enough. Then we hot glued the arms on and that did work. After that we made clothes for him with duct tape we made a tie for him by getting a strip of duct tape  and folding the ends of the strip  shaped like a triangle. our problem was when we tried to tape the head on. So we took the hot glue gun and glued it on instead.
This is our finished project. Bob.
What our goal for next time, is to build bob's house. I hope u will enjoy building your very own Bob. Make sure that you visit this blog daily, just in case we have the next step,
building Bob’s house!

Mini Cardboard House

How to Make a Mini Cardboard House  
                                     By Camille, Parker, and Bridget
                                                      4th Grade

We built this project with a 30in by 80in cardboard box. Once you step into the house you don’t want to come out.


Step 1: Get a small cardboard box (to make the mailbox)then cut two holes on each side of it, big enough to fit your hand in.


Step 2: Next is the roof, like the walls of the house you make (about 30in by 50in) cardboard roof. To make the roof stay you need lots and lots of tape.Like the picture below.


 hear is the roof when it’s done!


Step 3:Next, we made the walls like we said in the beginning it’s 30in by 80in. Also don’t shut it all the way closed (you need someway to get in!)

Step 4:Now you make a board that you and draw and erase on! What you do is get any color cardboard and you put white tape around it. Then use washable markers and start drawing.

Note: Step’s not in order you can do it anyway order you feel is most easy.

Thanks for reading, hope you enjoy the mini cardboard house!!!!!!!!

Thursday, January 7, 2016

Cardboard Vending Machine

Vending Machine
By Laila and Allie

Our Problem: I had a bunch of boxes from moving and my parents wanted to get rid of them. Could I make something out of one?

Our Project: Is a medium box from home depot with attachments that hold our supplies. It even has its own logo!

Plan

  1. Cut off the flaps from the top of the box. ( do not throw them away)
  2. Cut out a rectangle from the vertical flaps from the bottom. **make sure not to cut the horizontal one**


3. Grab your thick piece of cardboard and cut the thick part out. Leave about an inch from the side and tape it to the side on the top when the cut out side is facing towards you. This is the money slot.


4. Use one of the flaps you cut off and fold it into three sections. Take the thinner piece of thick cardboard and tape it to one of the sections.


5. Securely tape the flap onto the side with the cut out rectangle that becomes the holder for your products.


6. Create a name for your company. ** we made ours by allie made an L on accident with black duct tape and I wrote vending sideways to make L vending**


7. Be creative as you find cool things to sell. You also can take a black marker and on the side write what you are selling.