Friday, December 18, 2015

Night Game- cardboard creation

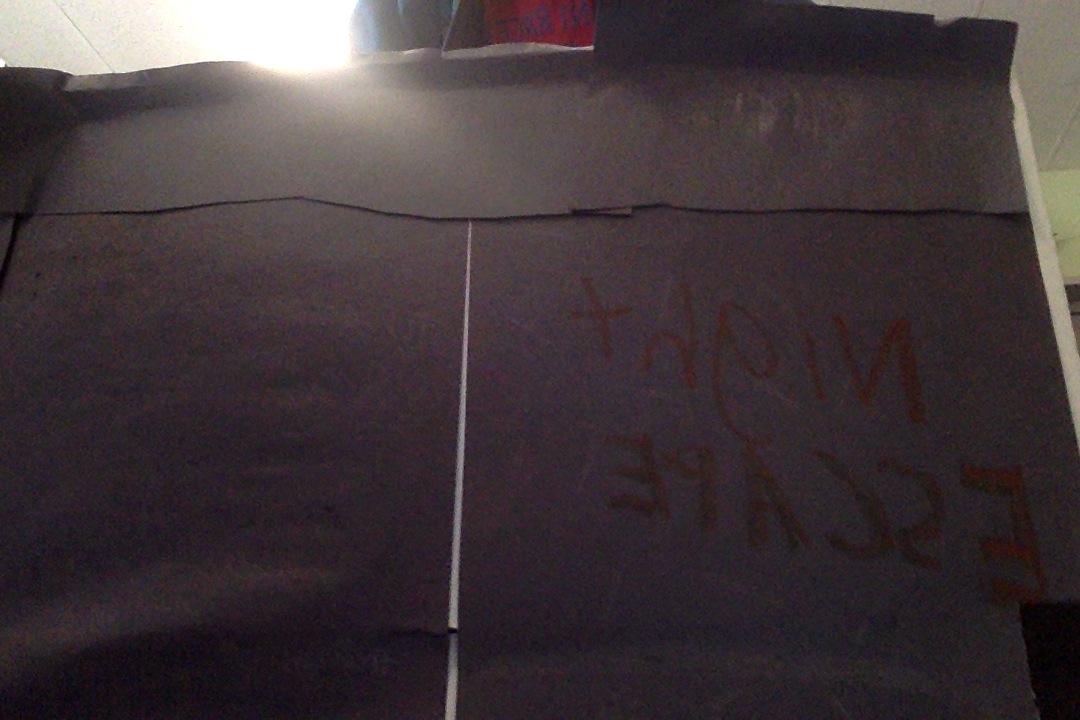
NIGHT ESCAPE -- cardboard game

Problem-I was assigned a report to post a blog about a cardboard creation, and I created along with  a partner so awesome named Chase. We created NIGHT ESCAPE.


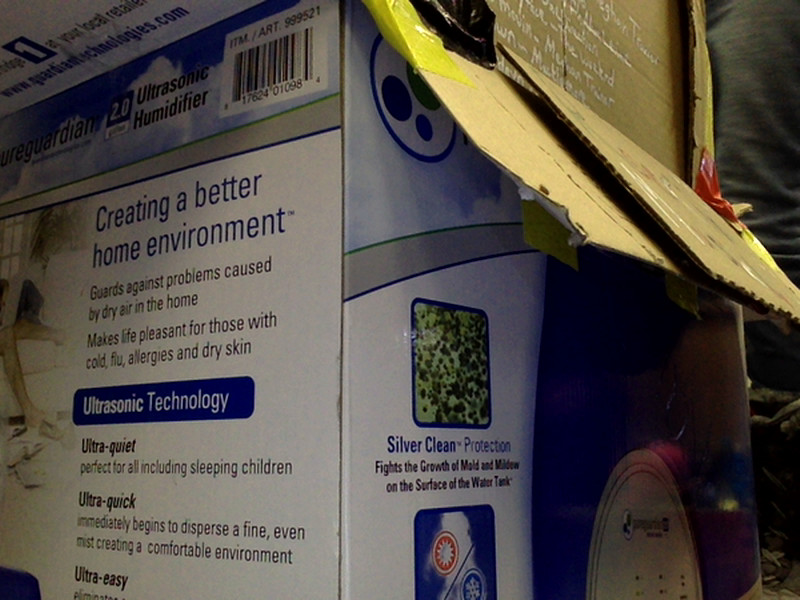
Step 1: find an box and then cut the entire top off ( but save it)

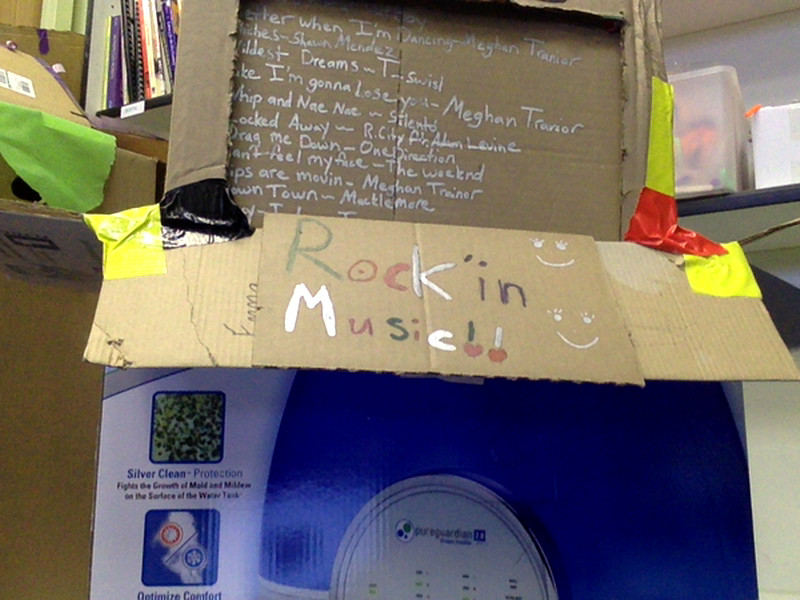
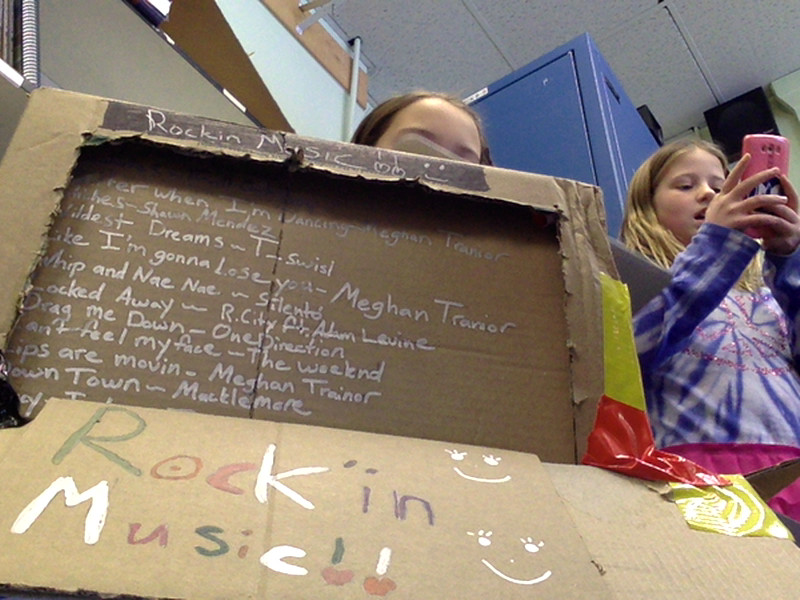
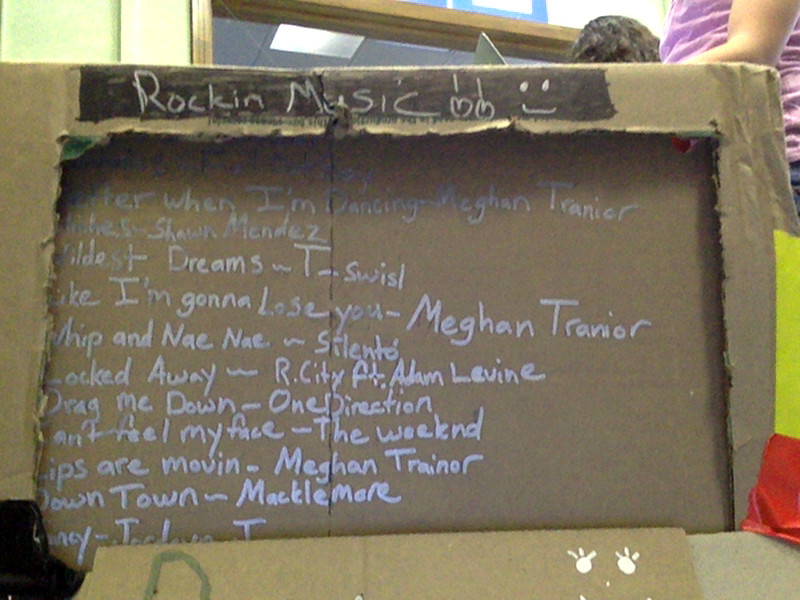
Step 2: decorate the top but keep so it can fit on the top of the box for an lid
Step 3:  cut an 3 by 3 inch hole on one side of the box (about in the middle)

Step 4: cover the hole with clear tape.

Step 5: tape only one side of the lid to the box so it still opens
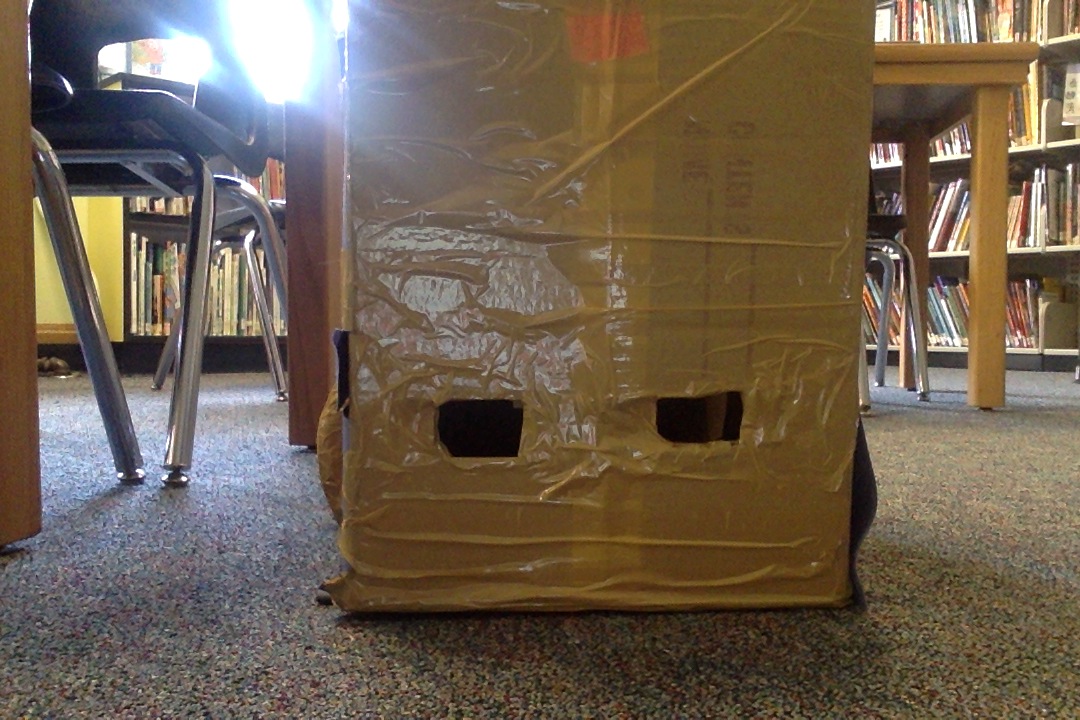
Step 6: cut 2  2 by 2 inch holes o(Step 6 figure)
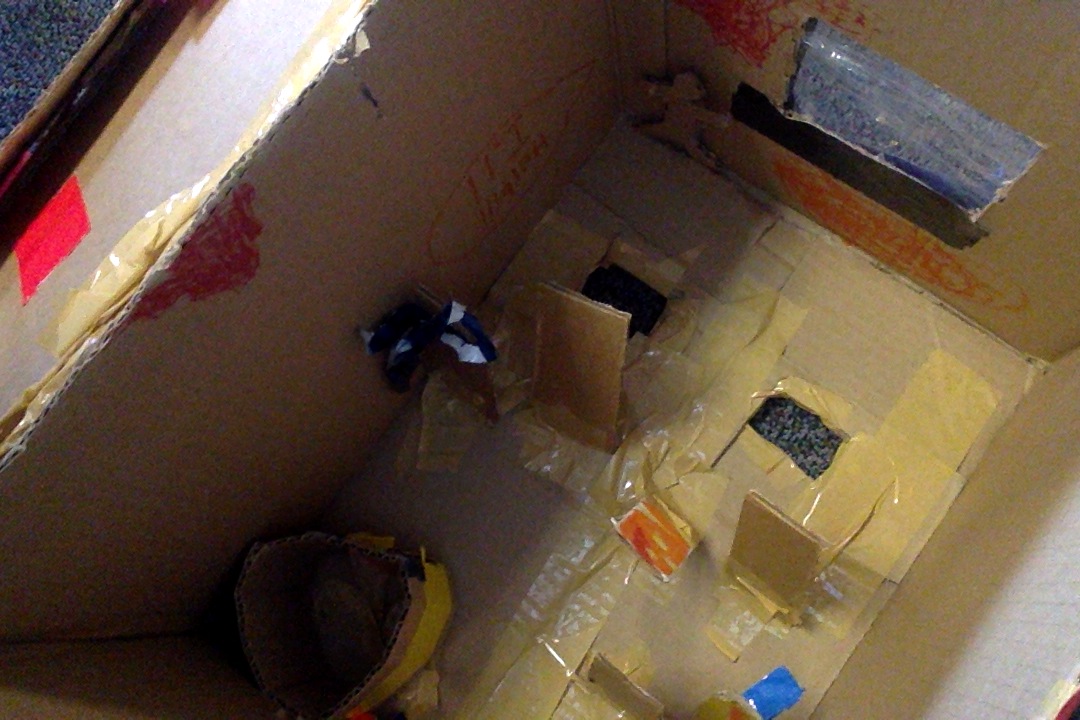
Step 7: create obstacles for the mable to dodge

Step 8: tape the obstacles to the floor of the box

Step 9: get a marble and  dodge all your obstacles with your created game!!

Cardboard Speakers

Make Your Own Rock’in Box
Dec 17, 2015 9:30:57 AM.jpg(Sorta like a homemade speaker)
Problem: We needed a loud speaker, but didn’t have one.

Step 1: Find two simular sized boxes, one maybe smaller than another.
Dec 17, 2015 9:41:53 AM.jpgOne smaller top boxDec 17, 2015 9:43:40 AM.jpgBigger bottom box

Step 2: Connect the boxes with duct tape and cut out the bottom of the bottom bigger box. The bottom box is the stand for your speaker.

Step 3: Cut out a square hole in your top speaker box. This is where you will write the names of your songs and have a little bit more room for the music to leak out louder.
Dec 17, 2015 9:51:07 AM.jpgThat is where the name of the songs will go.

Step 4: Cut a slip of cardboard as big as the hole in the top box and list all the songs you are offering. Tape it to the inside of the box.

Step 5: Cut a slip in the back of the combined boxes. This is where you will keep your music player and where you will collect money.
Dec 17, 2015 10:02:57 AM.jpg

Step 6: Take an electronic, put it in there and play some music!


Crayon Candles

CRAYON CANDLES

Problems with my project:I made crayon candles.I thought it would be different because all of my other classmates made something out of cardboard.I did not have two bowls so my candle wick did not stay glued in.I also didn’t have a jar. I had to use a metal can. It worked but the jar would have been better.

Brainstorming:I decided to go on YouTube and look for ideas. I found a video on how to make these candles and decided to try it.


Step 1: First, you will need to glue in your candle wick. You will need to buy candle wicks. Take a wick  and hot glue it to the bottom of the jar. Push it down with a pencil and wrap the top part if the wick around the pencil after you are done holding it down

Step 2:Next,you will need to un-wrap and break the crayons. Pick out the color that you want. Put them in a separate bowl.


Step 3:Put 5 scoops of Crisco in the bowl with the crayons.

Step 4: In the microwave,melt the mixture of Crisco and broken crayons for 2 and a half minutes. If that is not enough time and the crayons are not melted, put them back in for 10 seconds at a time.

Step 5: Now, add 10 drops of candle scent.(optional) You can choose any flavor that you want.


Step 6:Let the candles sit out until hardened.

Step 7:If the wick is more than 1 inch long, you will need to cut it down to about an inch.

I would have done a few more rounds with the Crisco and crayons but I did not have enough time to do that because I had a time limit.

Dec 18, 2015 10:54:38 AM.jpg

Building a Cat House

Our Cat House
 by Maeve, Owen, Brennan


Problem: We had a bunch of old cardboard boxes and we didn’t know what to do with them, so we made them into a cat house and garage.


Step 1: First, we took one of the boxes and made sure that the boxes are tall enough and wide enough for a cat to stand in or sleep in.
Photo on 11-19-15 at 9.40 AM.jpg
Step 2: Secondly, we cut out a hole wide enough and tall enough for a cat to walk into . We did that by letting Owen take the unfinished cat house home so he can let his cat test it out.


Step 3: Next, we cut two little windows on each side, not including the side with the door. We took popsicle sticks and some thin pieces of cardboard and put them on the windows to make them sort of like window frames.
Photo on 11-19-15 at 9.41 AM.jpg


Step 4: After that, we made it weather proof by putting tin foil on the top of our box. We also, put some tape on the top of the box for decoration.
Photo on 11-19-15 at 9.41 AM #2.jpg
Step 5: We tried making curtains to make it look pretty, but they didn’t work or look that good, so we took them down. We think it looks much better without them.


Step 6: The most  fun part is decorating the cat house. To begin, we hung little, curly, fuzzy wires on the ceiling. The, we made a small mailbox and glued it on the outside of the box. Last, but not least, we made little foods for the lucky cat that will sleep in our cat house.
Photo on 11-19-15 at 9.42 AM.jpg
Step 7: Lastly, we made the garage where we could store the cat’s toys.


Problem: The foil ripped and the curtains didn’t work.

How to Create a Non-Motorized Go Kart

How to Create a Non-Motorized Go Kart 
by  Mateo, Nathan, and Hank


Your Project: We wanted to make a Go Kart so we could ride around the city of Denver.


Brainstorm: Since Hank’s Dad is a construction worker he lent us a Dolly, we figured out we needed a seat.  Step 1: We used a Dolly as a base of the Go Kart to make it stable. But also, there were wheels on the Dolly so we did not need to attach wheel.


Step 2: We found a baby  car seat in Hank’s garage, so we attached it with lots of duct tape. Also, the seat came with a seatbelt so we didn’t need to make a seat belt.
Step 3: We needed to straighten out and stabilize the baby seat on the Dolly. We used a lot of Duct tape to accomplish this.
Step 4: Next, we tied on a rope to the wheels to turn the 
Go Kart.


Step 5: Lastly we had to decorate the Go Kart. We taped a pheasant feather on the back to make it look cool. We also colored and made a license plate from cardboard we made a front license plate and a back license plate.
-carseat-Camel-suede | by


Improvements: At Nathan’s house he made a cup holder to attach to the side of the Go Kart. Also, we added two made up puffball characters named Jeffery and Jeffery Jr. We attached them on the seat.

Changes: We put on a back made of cardboard on the back of the Go Kart.